Shrink Film Transparent Gloss 20x30cm, 10 pcs.
Dimension item:
30 x 20 cm

 Click the image to enlarge.

Available
Specifications
Found in the following categories:
| Itemcode: | 6021898 |
| Dimension item: | 30 x 20 cm |
| Dimension package: | 30 x 21 x 1 cm |
| EAN code: | 5707167462225 |
| Price in euros: | Excl. VAT and excl. shipping costs |
| Colour: | Transparent |
| Brand: | Creativ Company |
| Material: | Foil |


Others also bought
-
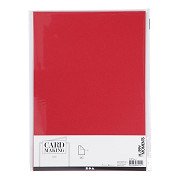
Karton Rood A4 220g, 10st.Log in for price information
-
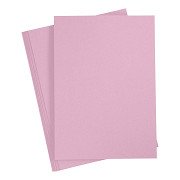
Karton Lichtpaars A4 220g, 10st.Log in for price information
-
Karton Roze A4 220g, 10st.Log in for price information
-
Crepe Paper Pastel, 10 pcs.Log in for price information
-
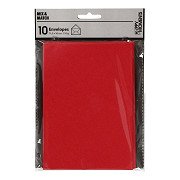
Envelop Rood, 11,5x15cm, 10st.Log in for price information
-
Colorations - Foam Sheets White, 10pcs.Log in for price information
-
Postcards 17.6x12.5cm - 12 DesignsLog in for price information
-
Cave paper Haza 50x200cmLog in for price information
-
Craft Angels, 25 pcs.Log in for price information
-
Watercolor paper A4 300 gr, 100 sheetsLog in for price information
-
Printed Cardboard Color A4, 20 Sheets, 250g.Log in for price information
-
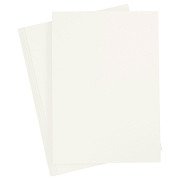
Colored Cardboard Ivory A4, 20 sheetsLog in for price information